


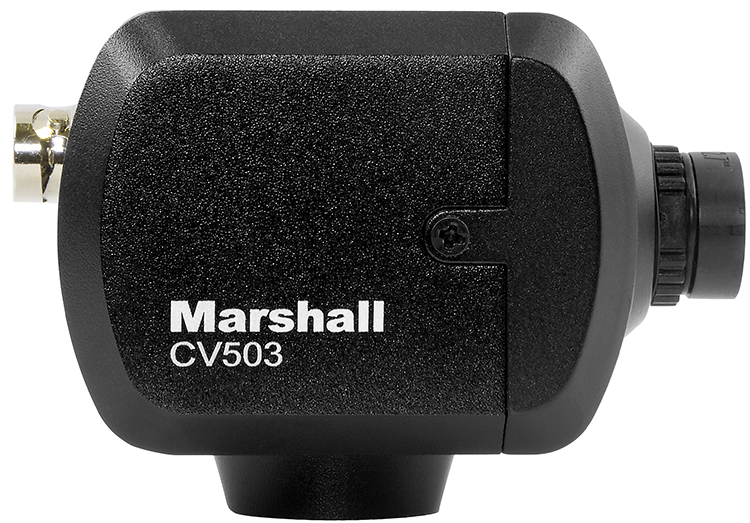
Marshall CV503
Miniature Full-HD Camera (3G/HDSDI)
Owner's Manual Camera Tips and Tricks Specsheet Download Firmware Update Instructions Download Firmware Upload Tool Download Latest Firmware Download Camera Control Software Visca Command List Hirose 12-pin Connector Pinout Download Images
Live from Las Vegas, Nevada |
|
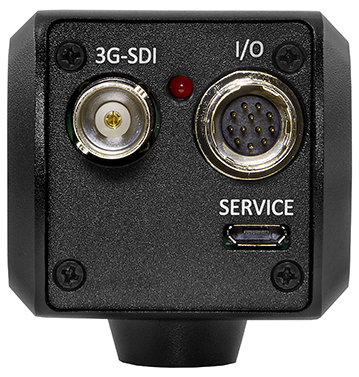
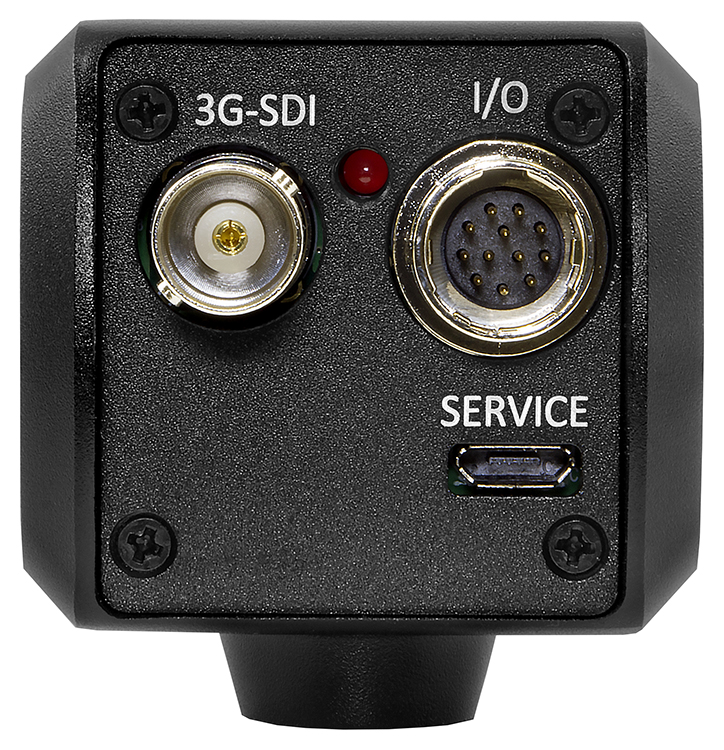
Rear view of CV503
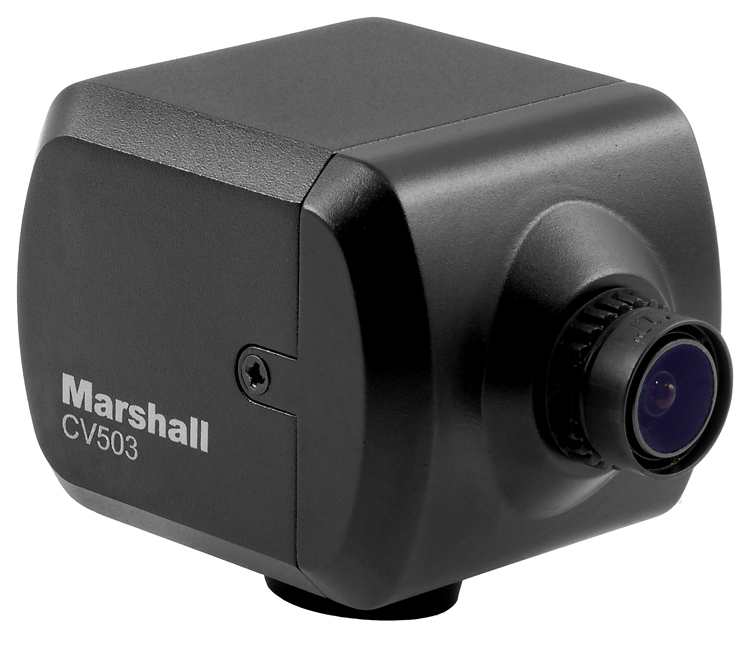
The Marshall CV503 Full-HD Miniature Camera offers performance, flexibility, and value in a tiny form factor. Built around a next generation 2.5-Megapixel, 1/2.86-inch sensor, the CV503 delivers ultra-crisp, clear progressive Full-HD video up to 1920x1080p at 60/59/50fps and interlaced 1920x1080i at 60/59/50fps.
The CV503 utilizes a full-sized BNC (3G/HDSDI) output on rear panel and locking I/O connection for power, control, and stereo audio input (embedded on 3G-SDI output). The CV503's threaded M12 lens mount offers a wide range of prime and varifocal lens options.
The CV503 can capture detailed shots while maintaining an ultra-discreet miniature point-of-view perspective without sacrificing versatility or convenience. Remote adjustment and picture settings commands are delivered via common RS485 (Visca) or OSD menu joystick on locking breakout cable. A wide range of picture adjustment settings are available and adjustable from a distance including paint (red/blue), white balance, exposure, gain control, pedestal (blacks), white clip, gamma, and more.
Hirose Breakout Cable (included with camera)

- 1. RS-485 wire (+/-) Input
- 2. 12V Power 2.1 mm Plug (Center Contact)
- 3. Hirose connector plugs into camera
- 4. OSD Menu Control
- 5. TRS Audio Mic/Line-level input
CV503 Applications:
The CV503 is suitable for use in full-HD broadcast and Pro AV workflows including live broadcast productions, sportscast, newscast, reality television, concerts, corporate, government, courtroom, house of worship, and many more.
Compatible HD Prime Lens Options (M12):
| Part Number | Description & Horizontal AOV |
| CV-4702.3-3MP | 2.3mm, F2.2 3MP M12 lens; Horiz AOV = 126° |
| CV-4702.8-3MP-IR | 2.8mm, F2.6 3MP M12 lens; Horiz AOV = 100° |
| CV-4804.4-12MP | 4.4mm, F2.7 12MP M12 Lens; Horiz AOV = 100° (1/1.8"), 70° (1/2.8") |
| CV-4706-3MP-IR | 6.0mm, F2.4 3MP M12 lens; Horiz AOV = 48° |
| CV-4708.0-3MP | 8.0mm, F1.8 3MP M12 lens; Horiz AOV = 40° |
| CV-4712.0-3MP | 12.0mm, F1.8 3MP M12 lens; Horiz AOV = 33° |
| CV-4716.0-2MP | 16.0mm, F1.8 2MP M12 lens; Horiz AOV = 25° |
Compatible 8MP Prime Lens Options (M12):
| Part Number | Description & Horizontal AOV |
| CV4804-8MP | 4.0mm F1.8 8MP M12 Lens - 90° (1/2.5"), 85° (1/2.7"), 80° (1/3") |
| CV4808-8MP | 8.0mm F1.8 8MP M12 Lens - 70° (1/2.5"), 62° (1/2.7"), 50° (1/3") |
| CV4812-8MP | 12.0mm F1.8 8MP M12 Lens - 50° (1/2.5"), 42° (1/2.7"), 33° (1/3") |
Compatible 5MP Prime Lens Options (M12):
| Part Number | Description & Horizontal AOV |
| V-555.0-5MP-VIS-IR M12 | 5.0mm F2.0 5MP M12 Lens - 63° (1/3"), 75.5° (1/2.5"), 98° (1/1.7") |
| V-557.6-5MP-VIS-IR M12 | 7.6mm F2.0 5MP M12 Lens 40.4° (1/3"), 48° (1/2.5"), 60° (1/1.7") |
Compatible HD Varifocal Lens Options (M12):
| Part Number | Description & Horizontal AOV |
| CV-2812-3MP | 2.8~12mm, F1.4 3MP Varifocal M12 lens; Horiz AOV = 32° ~ 100° (1/2.7") |
| CV-0622-5MP | 6.0~22mm, F1.6 5MP Varifocal M12 lens; Horiz AOV = 46~16° |
Actual viewing angle may vary depends on image sensor specs and camera design. *Horizontal Angle-of-View (AOV) in degrees are approximate and vary according to exact sensor size and design.
**If camera model contains IP67 weatherproof cap, there may be some limitation as to which lenses will allow cap to fit back on camera.
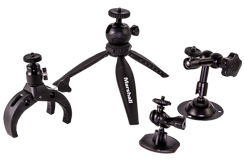
1/4"-20 Mounts
1/4"-20 Compact Camera Stands & Mounts,Clamps, Articulating arms and more... Read more
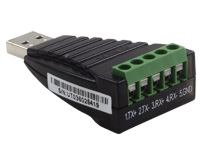
CV-USB-RS485
USB to RS485/422 Adapter for use with Marshall Windows Camera Control Software.Call for Price
Click Here For Additional Accessories
CV502/505-series Live from Las Vegas, Nevada |
CV502/505-series Live from Las Vegas, Nevada |
||
CV502 capture wide-shot at College Basketball game |
CV502/500 mounted on Basketball Backboard |
||
CV502/500 mounted on Volleyball Net |
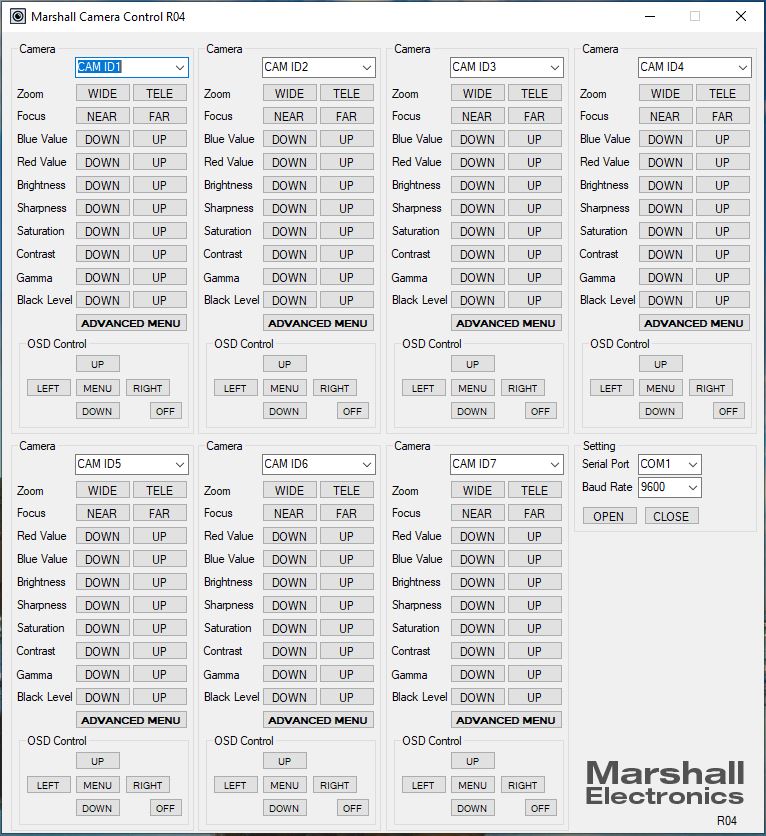
Camera Control Application
- Download Camera Control Software HERE
- Use USB to RS485/RS422 Converter (CV-USB-RS485)
- Use cat5 or 24AWG twisted-pair wire (sold separately)
- Connect cable from RS485(+) terminal on Camera to T/R (+) on USB/RS485 converter
- Connect cable from RS485(-) terminal on Camera to T/R (-) on USB/RS485 converter
- Plug USB cable from USB/RS485 converter into USB port on Laptop or Computer (note ComPort#)
- Open up CamControl Program and match Serial Port to corresponding ComPort# used
- Select Baudrate in CamControl Program and match it in Camera OSD Menu under DISPLAY CONTROL > BAUDRATE
- Select Camera Address in CamControl Program and match it in Camera OSD Menu under DISPLAY CONTROL > CAM ID
- Select Open in CamControl Program
- Test connection by pushing MENU in lower right of CamControl Program - OSD Menu should come up on video signal
- Commands can also be sent without using OSD Menu
* Pricing does not reflect freight costs and applicable taxes and duties
* Pricing, specification and features are subject to change