The Marshall CV502-U3 is a USB-powered, high-definition POV Camera with a wide field-of-view angle lens and simple plug-and-play connectivity with any Mac, PC, and Linux system. The CV502-U3 can be used for video web conferencing, teleconferencing, huddle rooms, and any other professional corporate communication settings.
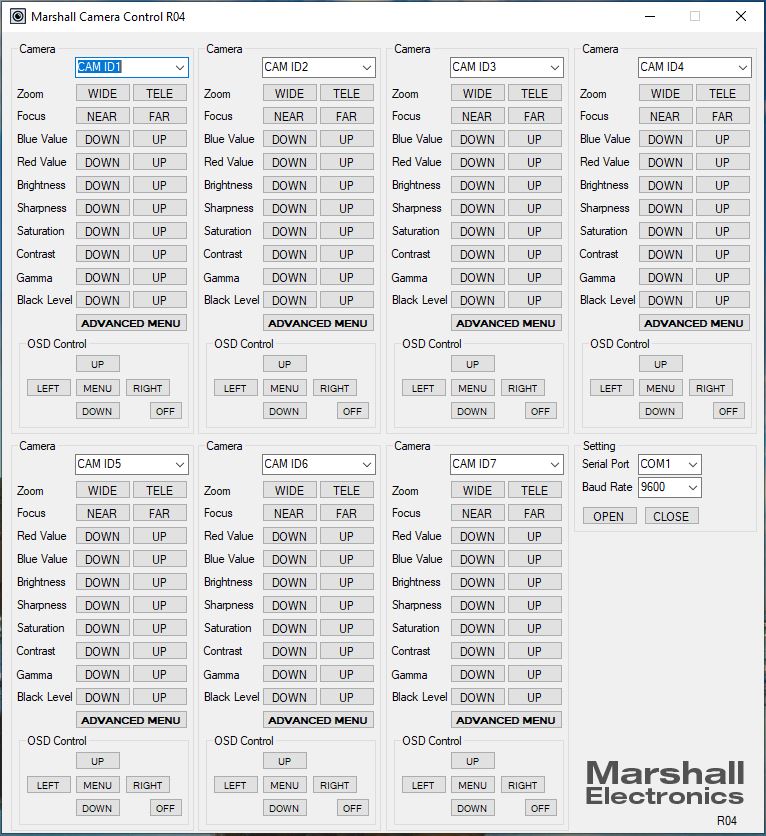
Remote adjust through RS485 (Visca) or OSD menu joystick
Wide range of picture adjustment settings including paint (red/blue), white balance, gain control, pedestal (blacks), exposure, gamma and more
Includes 12V power supply in box
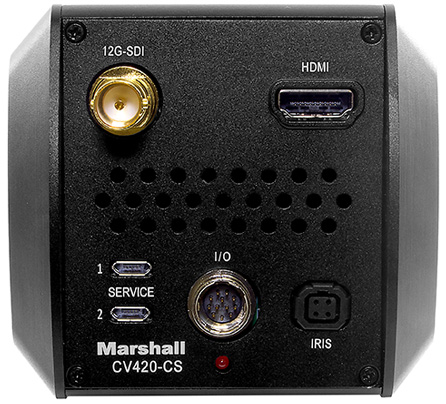
Rear view of CV420-CS
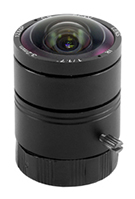
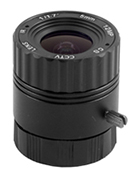
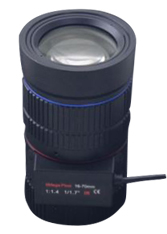
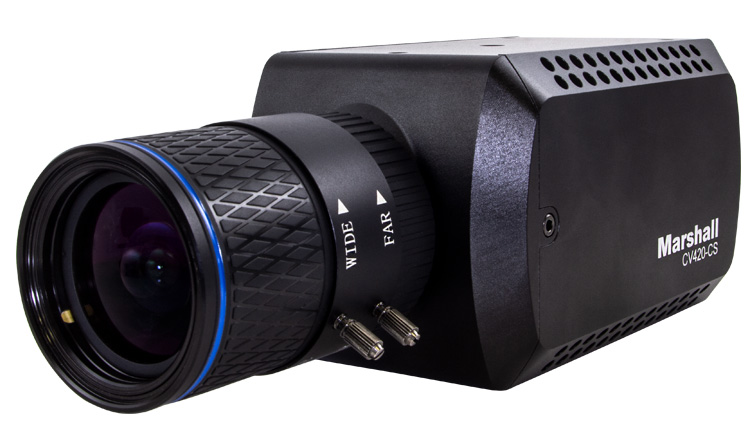
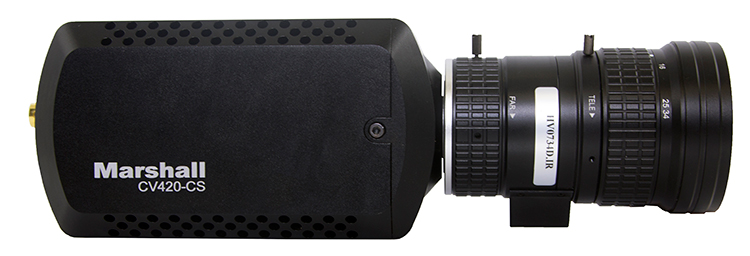
The Marshall CV420-CS is a true 4K camera built around a 12.4-Megapixel, 1/1.7-inch sensor delivering ultra-crisp, clear true 4K resolution in 4096x2160p at 60fps. CV420-CS contains a single 12G (BNC) and a simultaneous HDMI 2.0 output covering a variety of 4K/UHD/HD applications. Flexible CS/C lens mount format offers a wide range of lens options with DC Auto-Iris plug-in capability.
CV420 is a versatile and powerful camera solution in an easy to understand design. Remote adjust and match control is delivered via RS485 (Visca) or OSD menu joystick on breakout-cable. A wide range of picture adjustment settings are available such as paint (red/blue), white balance, gain control, pedestal (blacks), exposure, gamma and more. The CV420-CS can capture detailed shots while maintaining a discrete presence and can be used as a fixed 4K wide shot where select HD windows can be captured and used within the frame in post.
CV420-CS Applications:
The CV420-CS is suitable for use in flexible workflow environments including live broadcast production, sportscast, newscast, concerts, reality television, corporate communications, government, courtroom, house of worship, education, and many more Broadcast and ProAV applications


 Rear view of CV420-CS
The Marshall CV420-CS is a true 4K camera built around a 12.4-Megapixel, 1/1.7-inch sensor delivering ultra-crisp, clear true 4K resolution in 4096x2160p at 60fps. CV420-CS contains a single 12G (BNC) and a simultaneous HDMI 2.0 output covering a variety of 4K/UHD/HD applications. Flexible CS/C lens mount format offers a wide range of lens options with DC Auto-Iris plug-in capability.
Rear view of CV420-CS
The Marshall CV420-CS is a true 4K camera built around a 12.4-Megapixel, 1/1.7-inch sensor delivering ultra-crisp, clear true 4K resolution in 4096x2160p at 60fps. CV420-CS contains a single 12G (BNC) and a simultaneous HDMI 2.0 output covering a variety of 4K/UHD/HD applications. Flexible CS/C lens mount format offers a wide range of lens options with DC Auto-Iris plug-in capability.