


Professional Field Monitors
Marshall's field monitors are the industry standard with a variety of inputs and features to meet the needs of professional and prosumer videographers and photographers.
Our Marshall monitors offer standard features multiple inputs, False Color, Peaking Filter, Pixel to Pixel, HDMI Color Space and Ratio Detect.
* Features vary by model.
Professional Field Monitors
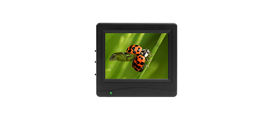
V-LCD4.3-PRO-R
Broadcast Quality 4.3" Color LCD Monitor with Dual Composite Video Inputs and Active Loop-Through
$299.00*
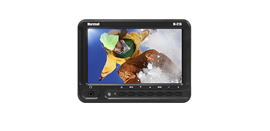
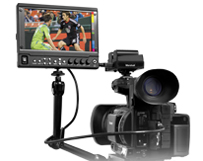
V-LCD70-AFHD
7" High Resolution 1024 x 600 Lightweight Camera-Top Monitor with Multiple Inputs
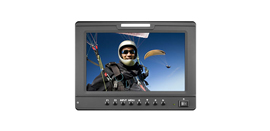
$808.00*